Creating Things
All Things, Smart Things and Components in Packet Tracer use the same base device: Thing. What makes them unique is the configuration in the I/O Config, Thing Editor, and Programming tabs. It is also possible to take an existing Thing and modify it to create a slightly different Thing or an entirely new Thing.
Icon of Generic Thing:
Existing Things
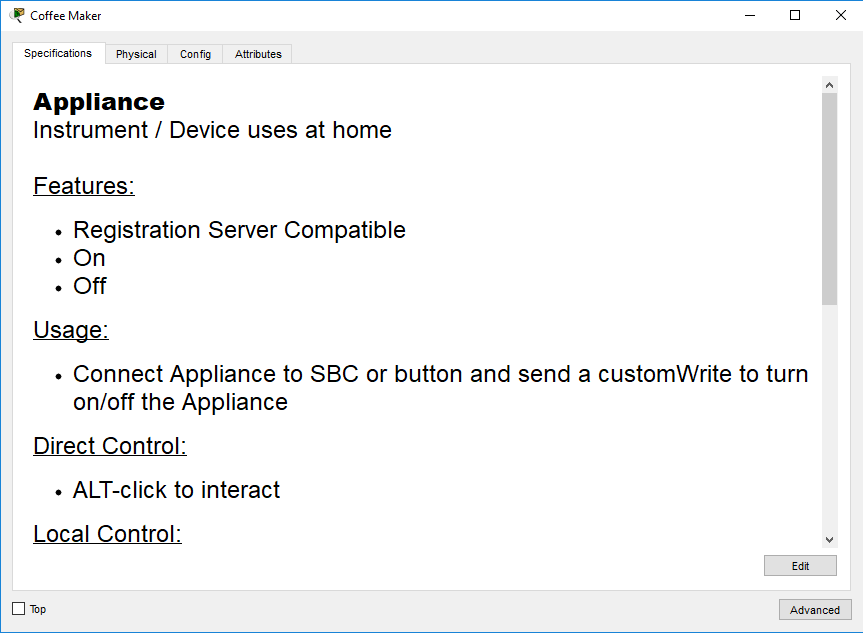
Prepackaged Things are not editable by default. For Smart Things, you are allowed to change the network configuration or turn off and on the device. In order to edit the existing Smart Things, you have to press the "Advanced" button in the device config dialog.
Example of an Existing Thing Dialog:
Example of an Existing Thing Dialog in Advanced Mode:

Creating Things
Things are created using the Thing device located in the Components, Boards category. Existing Things can also be edited using the "Advanced" button; edited Things only affect the edited instance of the device.
Creating Things: I/O Config
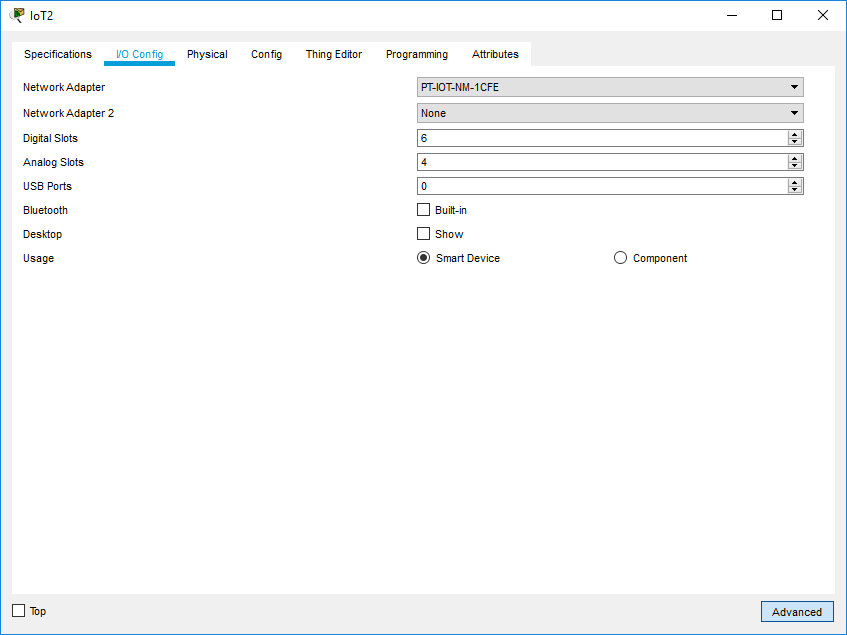
Things communicate to other things through various I/O. For Network Adapter, there are a few choices for copper Ethernet modules and a wireless module. Things can have up to 6 digital slots, 4 analog slots, and 1 USB port. A Thing designated as a Smart Device will have a Physical and Config tab shown by default.
Creating Things: Thing Editor
The Thing Editor is used to specify how the Thing will look like on the workspace.
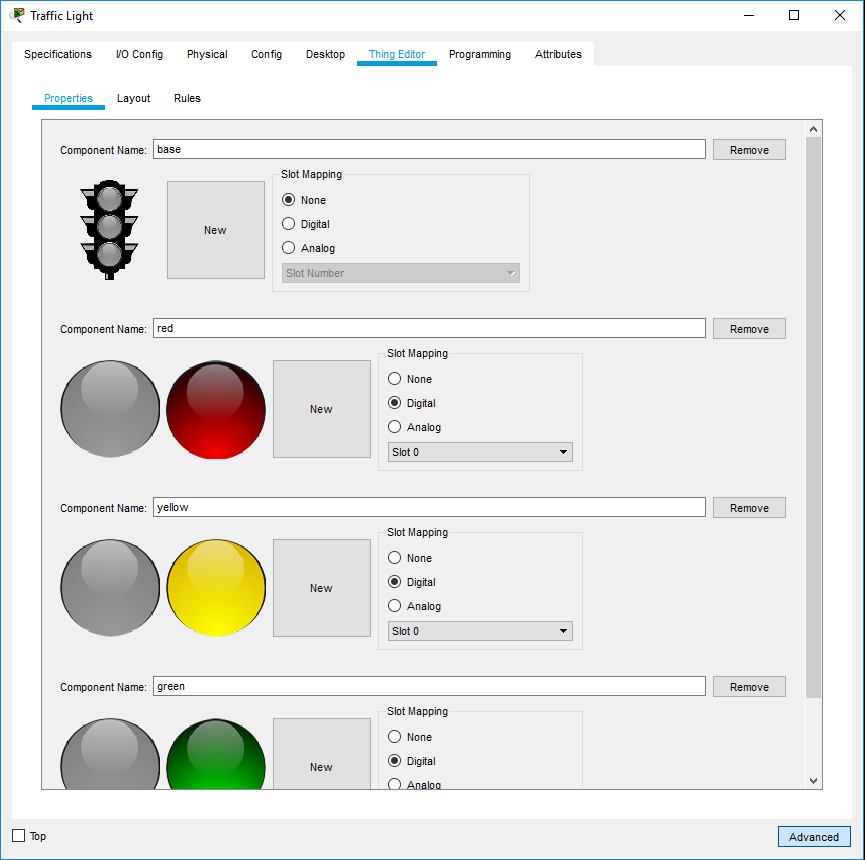
In the Properties tab, we add components that make up what the Thing will look like. For example, in the image below, we are creating a traffic light. The traffic light has four components. The base, which is the casing for the traffic light. Then there are the lights: red, yellow, and green. These light components have two images, one image for what the light looks like when it's off and another for on. The Slot Mapping is a group box that allows mapping the component to a specific slot; at this point, it's just a mapping, the Rules tab will define how to select the off or on images.
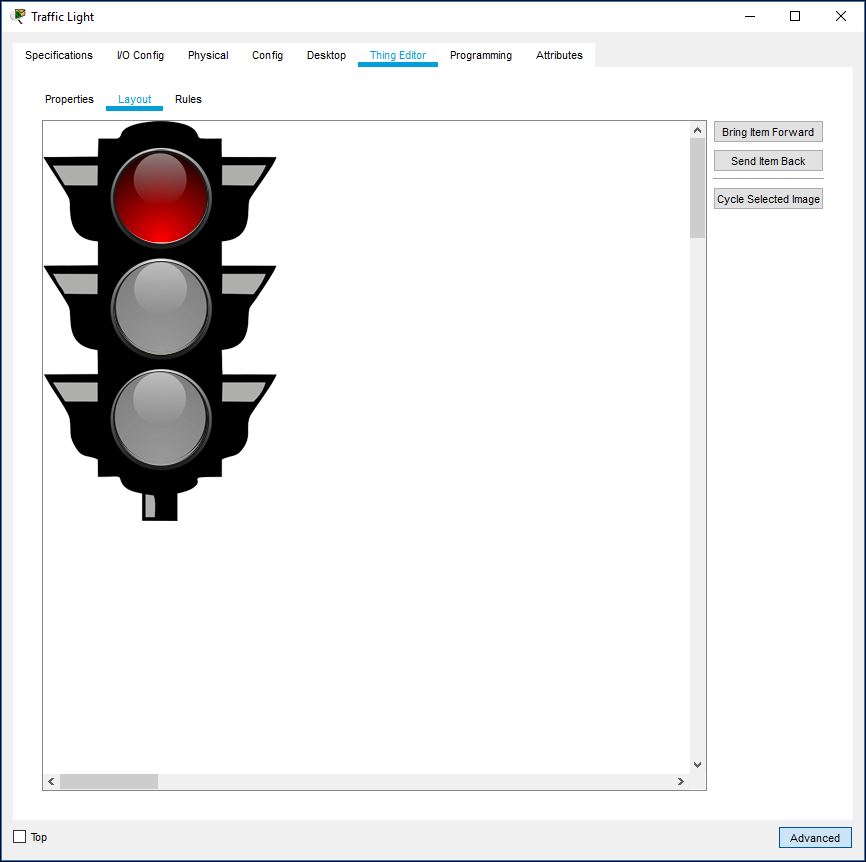
The Layout tab allows us to organize all the components in place and set their default states. The light components should be on top of the base component and we use the "Bring Item Forward" and "Send Item Back" buttons to achieve that result. By default, we want the traffic light to show only the red light, so we select each light individually and press "Cycle Selected Image" until we get the desired result.
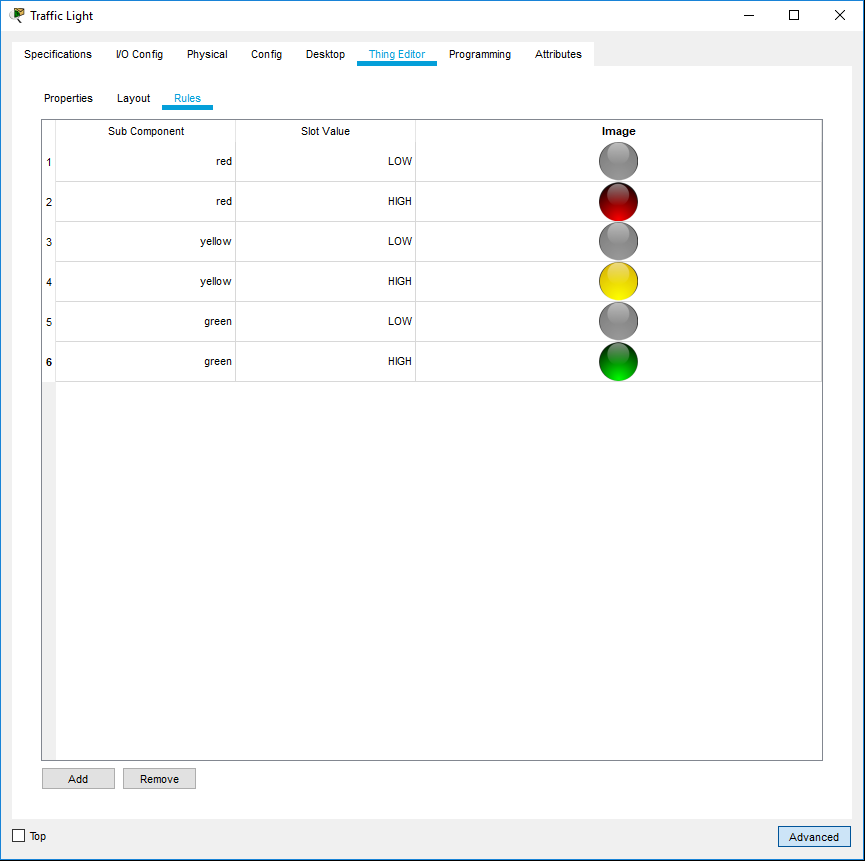
In the Rules tab, we define when to swap the image components. The base doesn't have a slot mapping so we do not need to worry about the base. For the lights, we need to specify when the light should be on or off. Recall that the red light is mapped to digital slot 1, this means whenever slot 1 is written a LOW signal, the image will be gray. When slot 1 is written a HIGH signal, the image will be red. It is also possible to specify more than two images but for those cases, an analog slot must be used.
Creating Things: Programming
Programming is the logic that makes the traffic light functional. The JavaScript code below defines three modes that the traffic light can be in: standard, blinking red, and blinking yellow. Going into details of the code is beyond the scope of this document, but take a look the doBlinkRed() function. It writes HIGH to digital slot 1, waits for 200 ms, then writes LOW to digital slot 1 and waits another 50 ms. Recall that in the Thing Editor, when the digital slot 1 is set to LOW, we show the gray image of the "red" component and a red image when the slot is set to HIGH.
var mode = 0;

function setup() {
	pinMode(1, OUTPUT);
	Serial.println("Traffic Light");

	digitalWrite(1, LOW);
	digitalWrite(2, LOW);
	digitalWrite(3, LOW);

	mode = 0;
}

function setState(newState)
{
	mode = newState;
}

function loop() {
	if ( mode === 0)
		doStandard();
	else if ( mode === 1 )
		doBlinkRed();
	else if ( mode === 2 )
		doBlinkYellow();

}

function doStandard()
{
	digitalWrite(1, HIGH);
	delay(1000);
	digitalWrite(1, LOW);
	delay(500);

	digitalWrite(2, HIGH);
	delay(200);
	digitalWrite(2, LOW);
	delay(50);

	digitalWrite(3, HIGH);
	delay(1000);
	digitalWrite(3, LOW);
	delay(500);
}

function doBlinkRed()
{
	digitalWrite(1, HIGH);
	delay(200);
	digitalWrite(1, LOW);
	delay(50);
}

function doBlinkYellow()
{
	digitalWrite(2, HIGH);
	delay(200);
	digitalWrite(2, LOW);
	delay(50);
}
Creating Things: Saving the Thing
Things can be saved as a custom device template just like routers and switches using the Device Template Manager. Please refer to the Workspace Basics, Creating Custom Templates section for more information.