Configuring Switches
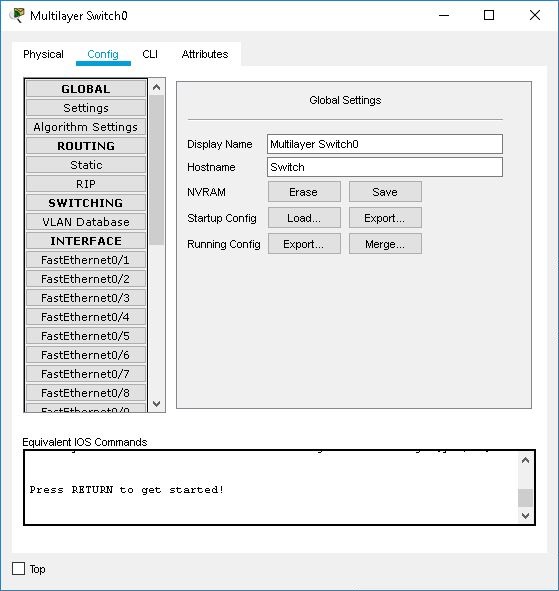
The Config tab for the switch offers three general levels of configuration: global, switching, and interface. The global level offers the same settings as a router. The routing level also offers the same configuration parameters as a router. The switching level, however, is where you can manage the VLAN database of the switch. The interface level configurations also offer access to the VLAN settings of the switch. Note that the Config tab provides an alternative to the Cisco IOS CLI only for some simple, common features; to access the full set of switch commands that have been modeled you must use the Cisco IOS CLI.
Throughout your configurations in the Config tab, the lower window will display the equivalent Cisco IOS commands for all your actions.
Global Settings
In global settings, you can change the switch display name as it appears on the workspace and the hostname as it appears in the Cisco IOS. You can also manipulate the switch configuration files in these various ways:

Algorithm Settings
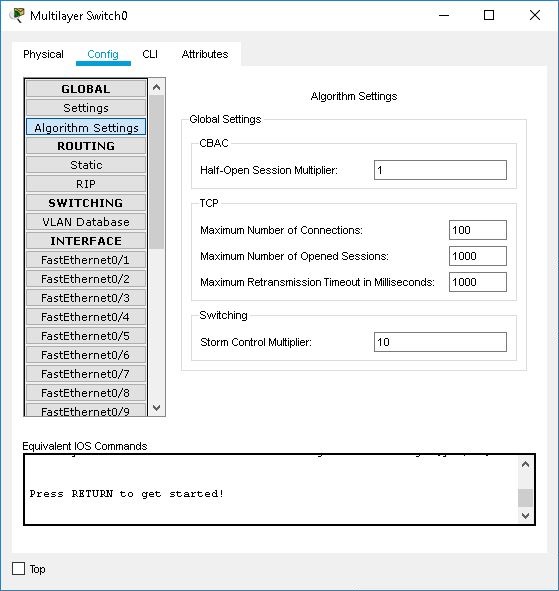
In the Algorithm Settings, you can override the global Algorithm Settings by removing the check mark Global Settings and then set your own values for the Maximum Number of Connections, Maximum Number of Opened Sessions, and Storm Control Multiplier. For the Cisco Catalyst 3560-24PS, you can also set the Half-Open Session Multiplier.
Routing Configuration (Cisco Catalyst 3560-24PS only)
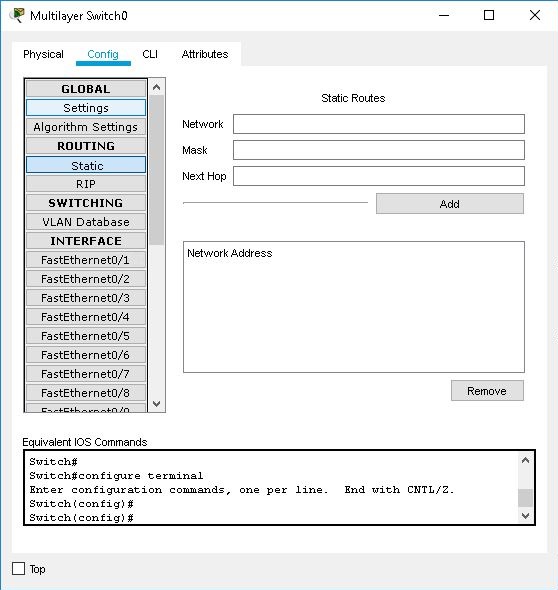
The Cisco Catalyst 3560-24PS multilayer switch supports IP routing. You can make static routes on the router by choosing the Static sub-panel. Each static route you add requires a network address, subnet mask, and next hop address.
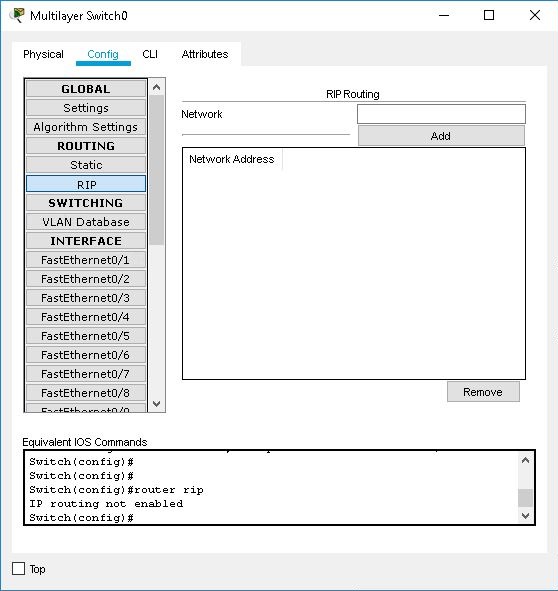
You can enable RIP version 1 on specified networks by choosing the RIP sub-panel. Enter an IP address into the Network field and click the Add button. The RIP-enabled network is added to the Network Address list. You can disable RIP on a network by clicking the Remove button to remove it from the list.
VLAN Database Configuration
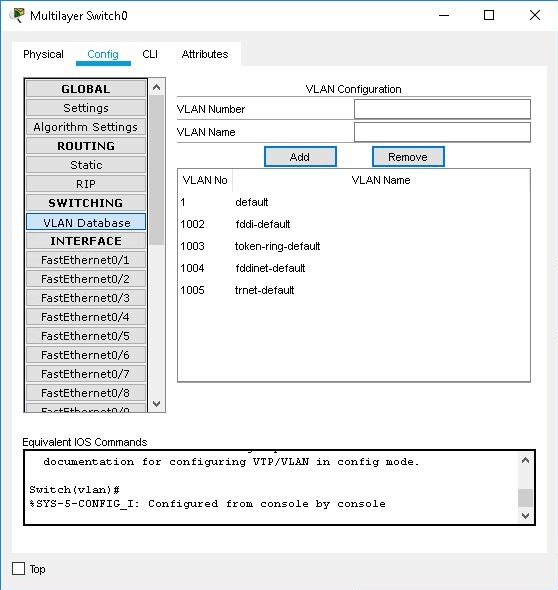
You can manage the VLANs of the switch from the VLAN Database sub-panel. You can add VLANs by entering a name and a VLAN number and pressing the Add button. You can see all existing VLAN entries in the list below the button. You can remove a VLAN by selecting it in the list and then pressing the Remove button. To associate a particular interface with a VLAN, go to the configuration panel of that interface.
Interface Configuration
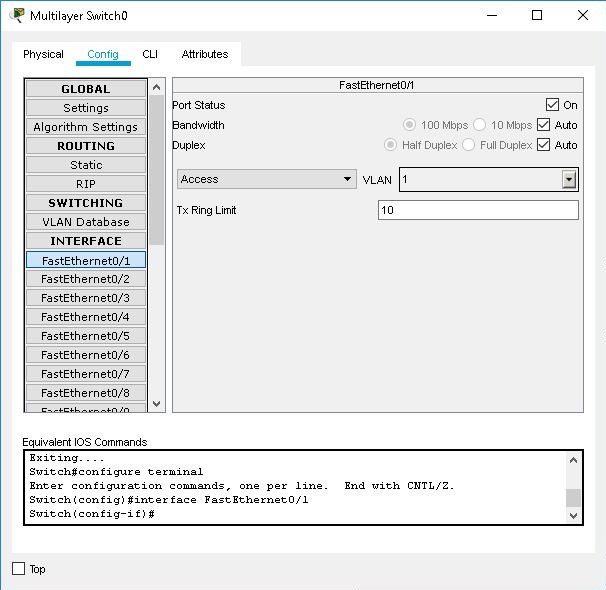
Switches have only Ethernet-type interfaces. For each interface, you can set the Port Status (on or off), Bandwidth, Duplex setting, VLAN Switch Mode, and Tx Ring Limit. By default, an interface is a VLAN access port assigned to VLAN 1. You can use the drop-down menu on the right side of the screen to reassign the port to another existing VLAN. You can also change an interface into a VLAN trunk port, and then use the drop-down menu on the right to select the VLANs you want that trunk to handle.
In Packet Tracer, the switch allows all VLANs (1 to 1005) on a trunk port by default, even if the VLAN does not actually exist on the switch. In the drop-down menu, you can see the current VLANs and block (uncheck) them from the trunk. However, you cannot block VLANs that do not exist. This does not affect the functionality of the switch. It is simply a way to display VLANs (or a range of VLANs) that the trunk supports. |