Configuring PCs, Laptops, Tablet PCs, and PDAs
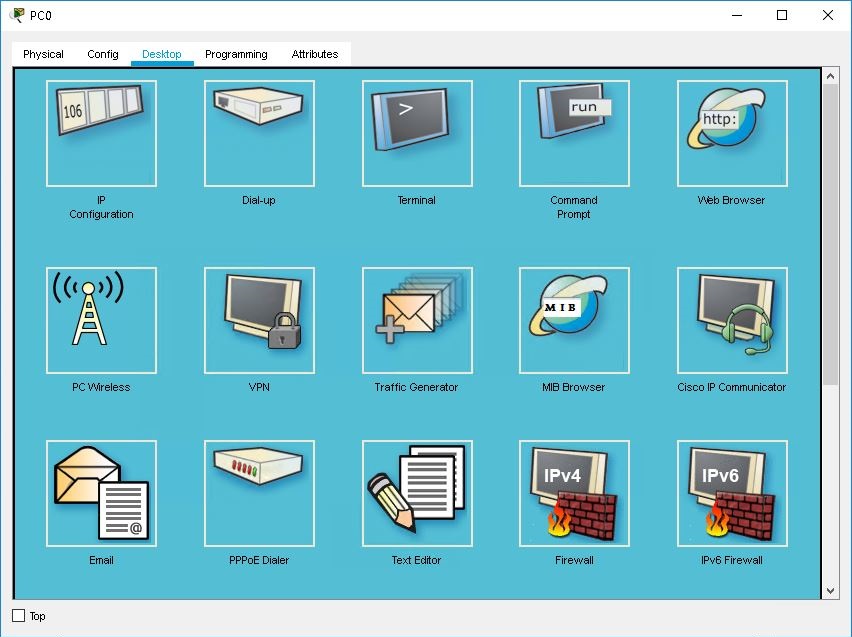
You can configure the global settings and interface settings on the PC, laptop, tablet PC, and PDA end devices with the Config tab. Additionally, the Desktop tab provides tools to configure IP settings, configure dial-up settings, use a terminal window, open a host command line interface, open a web browser, configure wireless settings, establish a VPN connection, generate PDUs, and issue SNMP requests.

Global Settings
In the global settings, you can change the Display Name of the end device. You may set the end device to either automatically obtain IPv4 or IPv6 configurations with DHCP or manually set the Gateway and DNS Server with Static. For IPv6, Auto Config will automatically configure the Gateway and DNS Server IP addresses.
Algorithm Settings
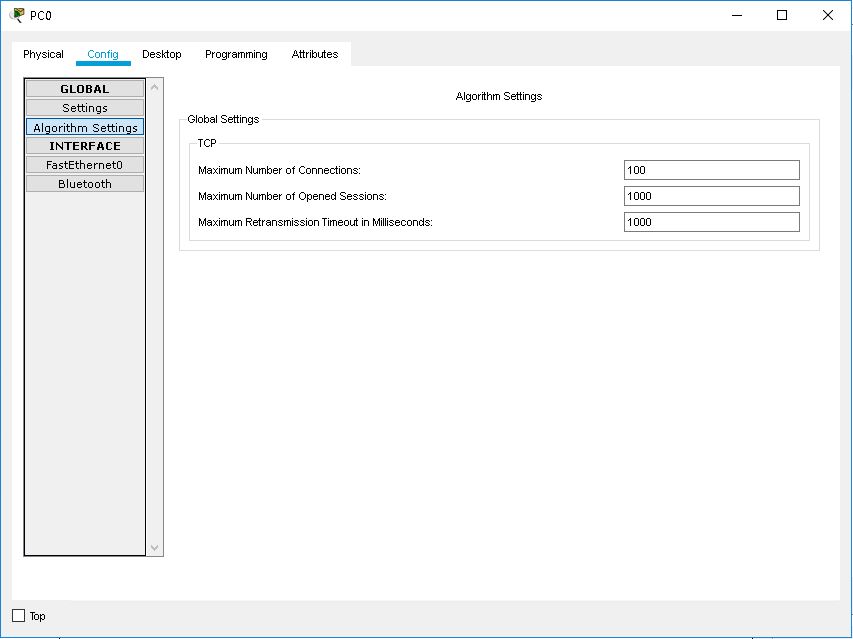
In the Algorithm Settings, you can override the global Algorithm Settings by removing the check mark from Global Settings and then setting your own values for the Maximum Number of Connections, Maximum Number of Opened Sessions, and Maximum Retransmission Timeout in Milliseconds.
Interface Configuration
PCs and laptops support Ethernet (copper or fiber), modem, and wireless interfaces. On the tablet PC and PDA, only the wireless interface is supported. In general, you can set the interface Port Status, Bandwidth, Duplex, MAC Address, SSID, IP Address, Subnet Mask, Link Local Address, and IPv6 Address. These options vary slightly for each interface type.
IP Configuration Utility
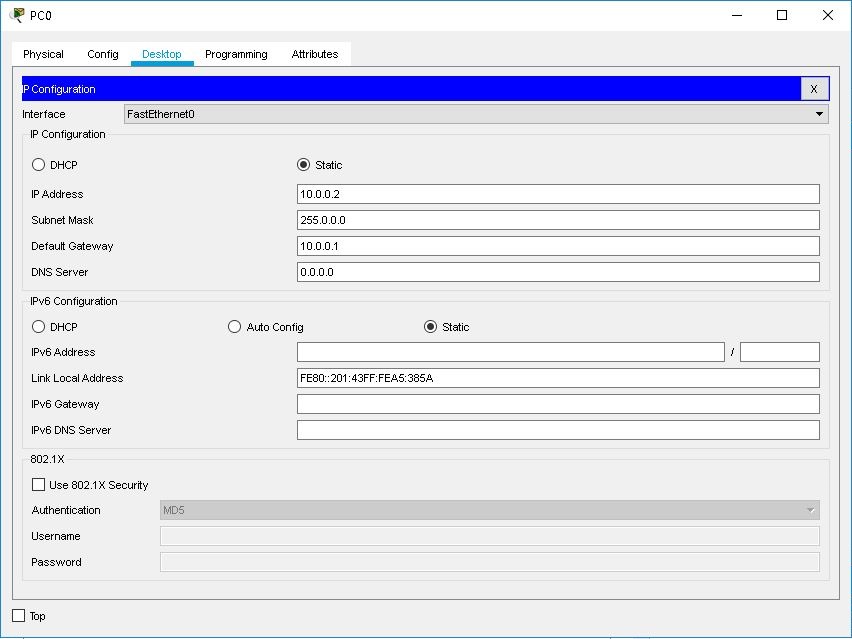
On the Desktop tab, click the IP Configuration icon to bring up the configuration utility. If the end device is connected to a DHCP configured router or server, you can use DHCP to automatically obtain the IP configuration by clicking on the DHCP button. Otherwise, you may use the Static button to manually set the IP configuration.
Modem Dial-up Utility
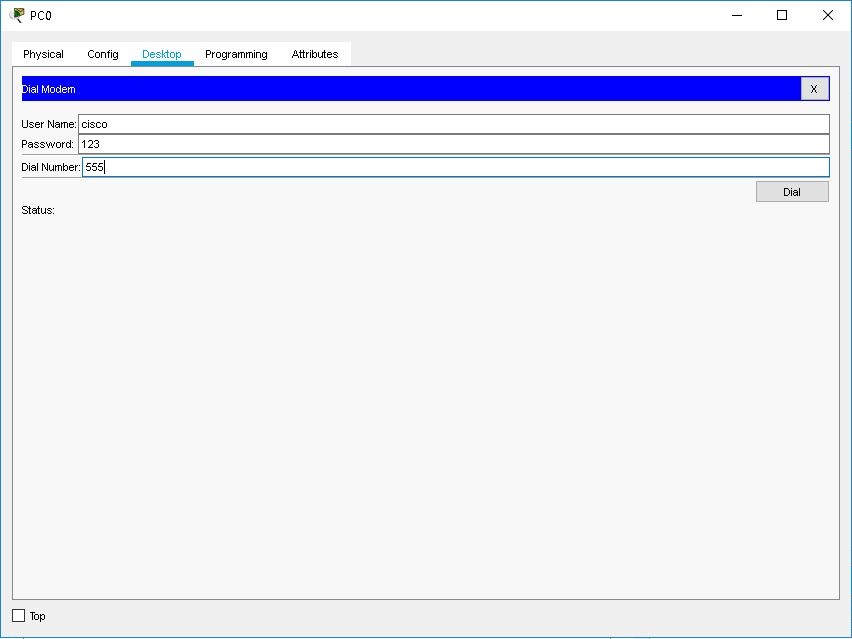
On the Desktop tab, click the Dial-up icon to bring up the Dial-up utility. Before you can access the dial-up utility, the end device must have the modem interface installed. As a result, only the PC and laptop devices are supported. You can establish a modem connection by connecting a PC or laptop to a cloud that is connected to a router. The cloud acts like a phone company between the PC or laptop and the router. Several conditions must be met before the connection can be successful:
If all the requirements are met, click the Dial button to make the call. The status line (as well as link lights) will tell you if the connection is successful. Note that you still must configure all relevant IP settings manually if you want to ping between the router and the PC or laptop. Use the Disconnect button to terminate the connection at any time.
Terminal Utility
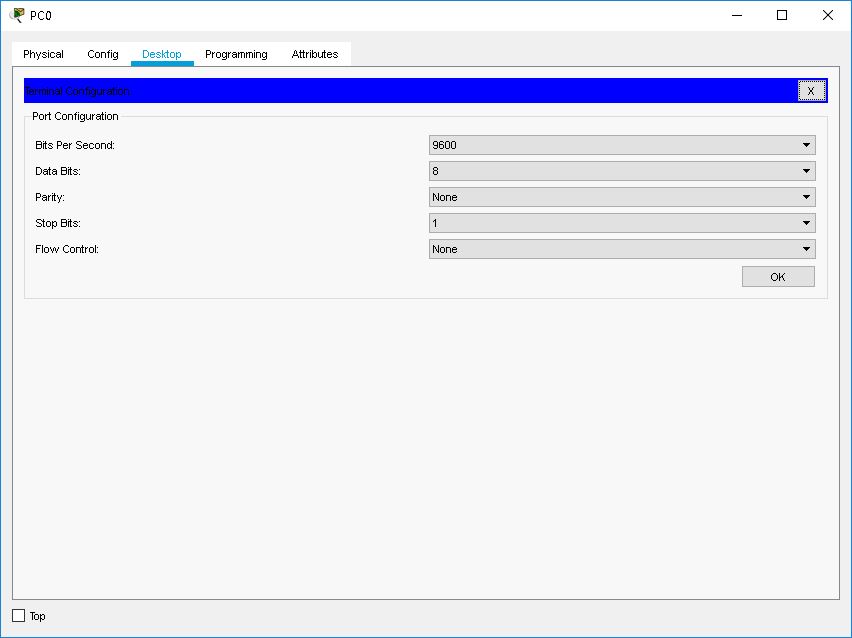
If the end device is connected to a router or a switch by a console connection (using the RS 232 port on the PC), use the Terminal application to gain access to the Command Line Interface (CLI) of the device. In the Desktop tab, click the Terminal icon to bring up this utility. Choose the appropriate port configuration parameters for the console session, and then click on the OK button. The Terminal window appears with the CLI of the device.
Command Prompt Utility
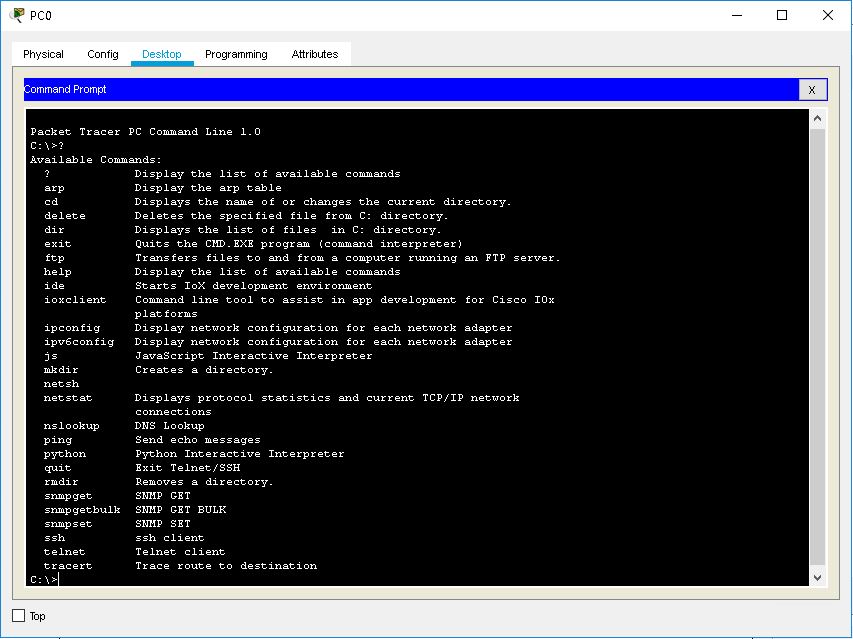
On the Desktop tab, click the Command Prompt button to bring up the command line utility. At the prompt, you can issue the following commands:
|
Web Browser Utility
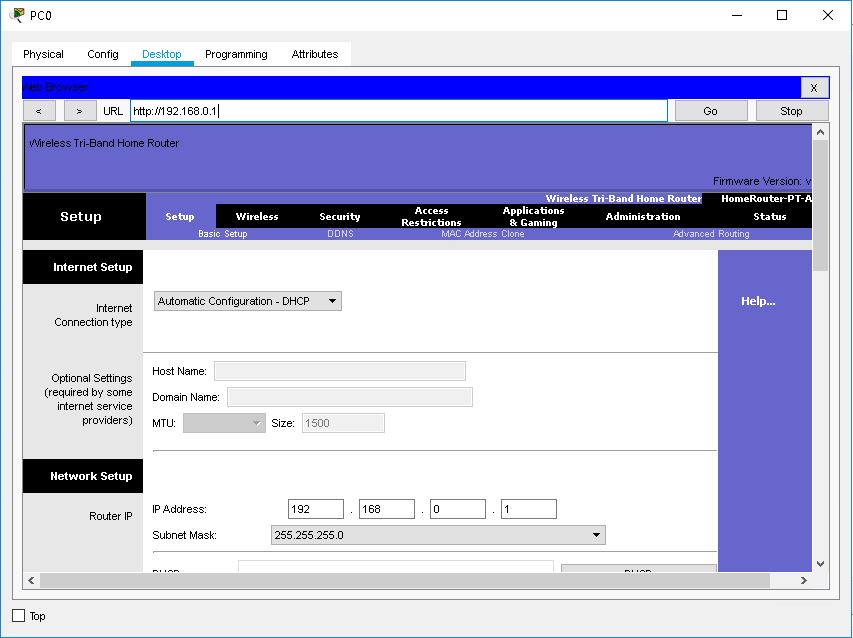
On the Desktop tab, click the Web Browser button to bring up the web browser. The web browser allows you to access a web server or the Web Configuration interface. If the end device is directly or indirectly connected to a server with HTTP service enabled, you can type in the IP address of the server to access the website on the server. If the end device is connected to a properly configured DNS server, covered in another help topic, you can type in the domain name of the server. If the end device is connected to a WRT300N wireless router, you can type in the IP address of the WRT300N wireless router to access the Web Configuration. A prompt will appear asking for user name and password. The default is admin for both user name and password.
PC Wireless Utility
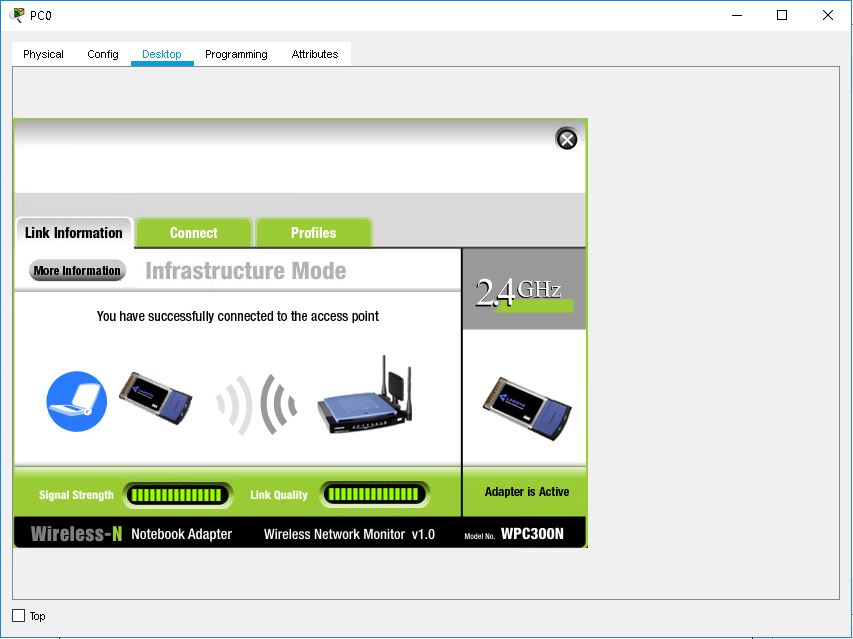
On the Desktop tab, click the PC Wireless button to bring up the wireless client software. Note that the WMP300N wireless hardware module is required for access so only PCs and laptops are supported. In the wireless client software, you can check Link Information to view wireless network status and statistics, Connect to any available wireless networks within range, and add/edit/delete Profiles to connect to wireless routers not broadcasting their SSID.
VPN Utility
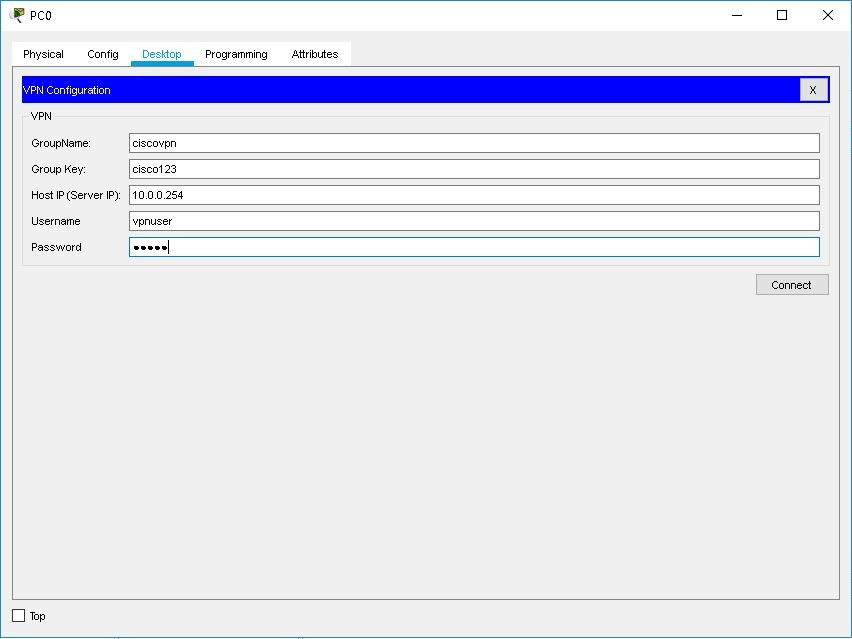
On the Desktop tab, click the VPN button to bring up the VPN client utility that allows you to create a VPN connection to a VPN server. To create a VPN connection, enter the GroupName, Group Key, Host IP (Server IP), Username, Password, and then click on the Connect button. To disconnect the VPN connection, click on the Disconnect button.
Traffic Generator Utility
The Traffic Generator utility is similar in functionality to the Add Simple PDU and Add Complex PDU tool in the Common Tools Bar, but with some key differences. First of all, when you load a save file, packets are not sent automatically by a Traffic Generator. The Traffic Generator utility must be open to generate traffic, although it can be minimized. Another key difference is that the Traffic Generator is unable to send multiple PDUs simultaneously.
Visually, the Traffic Generator is similar to the Add Complex PDU dialog with some exceptions. Instead of a One Shot parameter, the Traffic Generator has a Single Shot option. There is no field to enter a time value to send the PDU as the PDU will be sent the moment you click on the Send button. With the Periodic option, when you click on the Send button, the Send button will become a Stop button and the dialog will become gray. The Traffic Generator will then send a PDU at the interval that you entered. If you want to stop sending PDUs, click on the Stop button or close the utility.
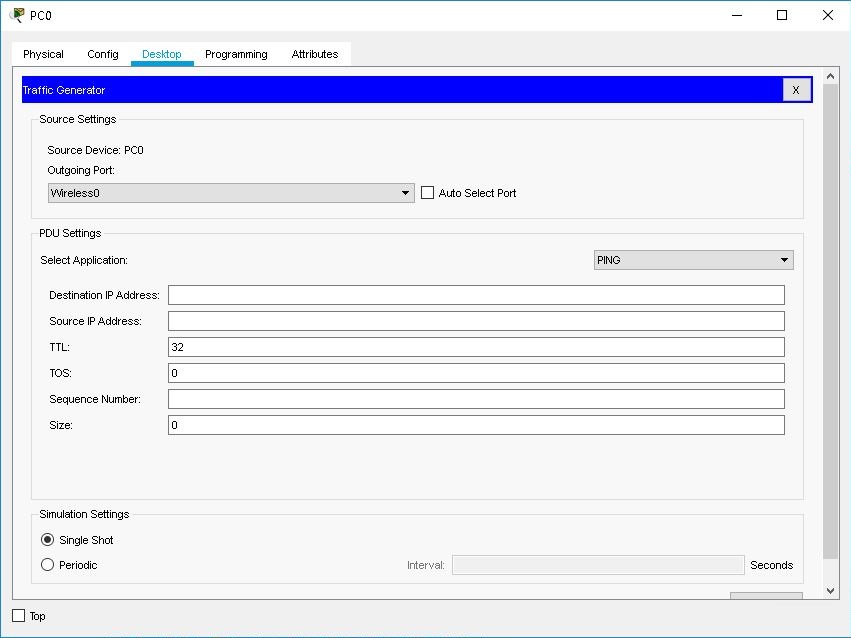
PDUs generated by the Traffic Generator are not added to the User Created PDU Window. As such, if you want to see if the PDUs failed or were successful, you will need to view the PDU's status in Simulation Mode. |
MIB Browser Utility
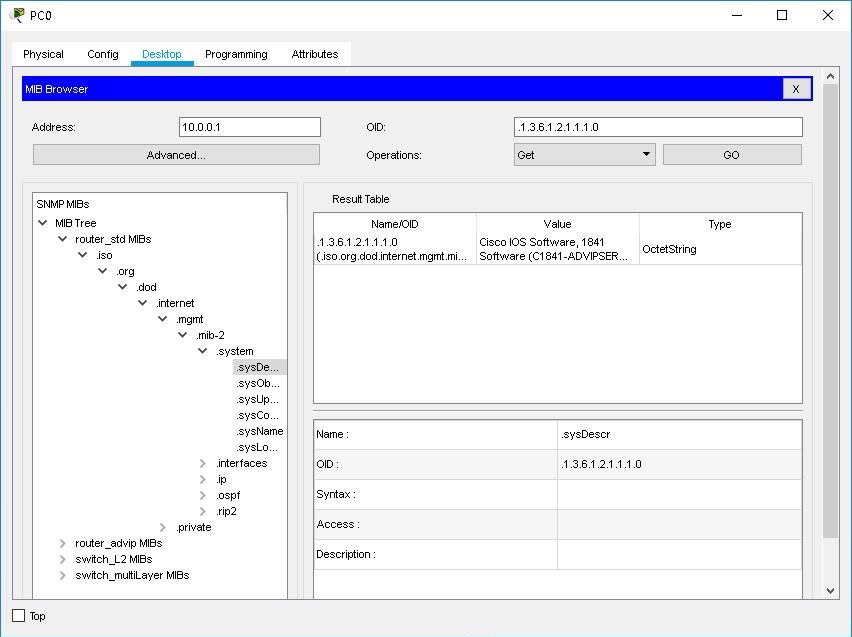
On the Desktop tab, click the MIB Browser button to issue SNMP requests. This allows you to retrieve router and switch data or make changes to the devices. To set up the MIB Browser for SNMP requests, click on the Advanced button and set the Address, Port, Read Community, and Write Community that is configured on the router or switch. Then, select the desired SNMP Version and click the OK button. The next step is to browse through the SNMP MIB tree and select the desired object instance (OID) for the router or switch. If you want to retrieve data, set Operations to either Get or Get Bulk and then click on the Go button. The data for the OID will be shown in the Result Table. If you want to change a writable OID, select Set in the Operations menu to reveal the SNMP Set dialog. In the SNMP Set dialog, select the appropriate Data Type for the OID, enter a Value, and then click the OK button. Finally, click on the Go button in the main MIB Browser dialog to set the OID value.
Cisco IP Communicator Utility
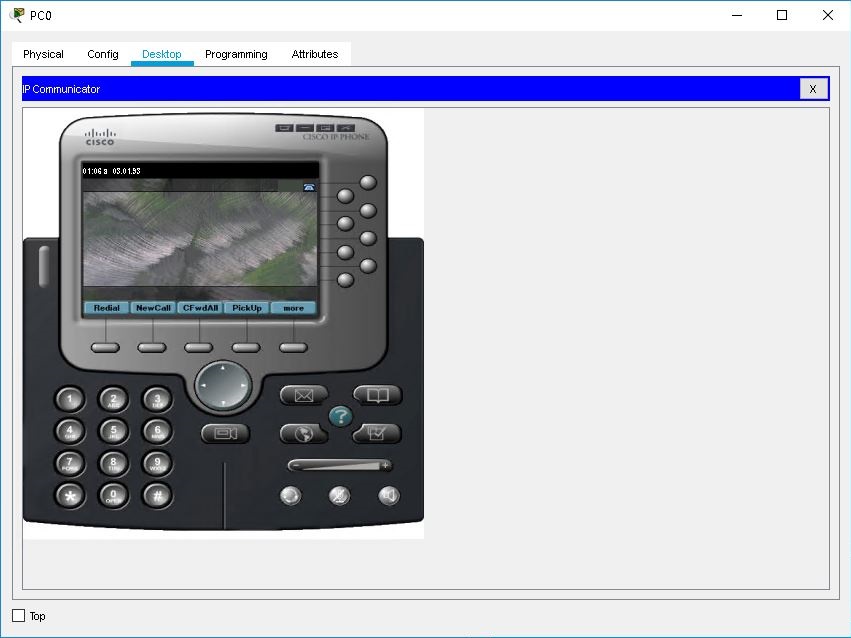
On the Desktop tab, click the Cisco IP Communicator button to place or answer a call. To place a phone call, enter the number of the recipient phone using the keypad and then click the Dial button. Alternatively, you may click the NewCall button or Speakerphone button first and then enter the recipient's number. If you accidentally enter an incorrect number, you may click the Cancel button to clear. Once the call has been placed, a message will indicate that the phone is ringing on the recipient's phone. To answer a call with the Cisco IP Communicator, click the Answer button. Once the recipient has answered the call, the status message will indicate that the Cisco IP Communicator is connected and a green light will show. While the call is still active, click on the Do, Re, or Mi buttons to send the respective sounds to the recipient. A message stating that the sound is playing will be displayed in case sound is disabled. To end the call, click the EndCall button. For the best possible experience while making calls, be sure that Sound is enabled in Preferences.
If you want configure the Cisco IP Communicator to use a different TFTP server from the default TFTP server, follow these steps. On the upper right-hand corner of the Cisco IP Communicator GUI, there are four buttons above the words "Cisco IP Phone." Click on the first button from the left to open a context menu and then select Preferences. Select the option Use these TFTP Servers: and then enter the IP address of the TFTP server that you wish to use.
Email Utility
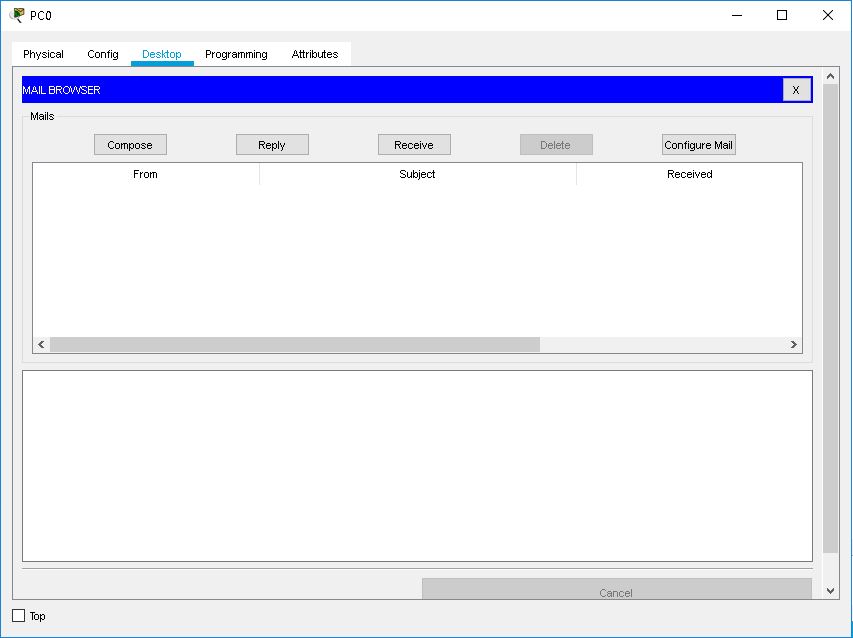
On the Desktop tab, click the Email button to bring up the email client. On the first launch of the email client, you will need to configure the parameters Your Name, Email Address, Incoming Mail Server, Outgoing Mail Server, User Name, and Password in order to send and receive email. Once the email client has been configured, you may Compose, Receive, view, and Delete emails. If you need to change configuration, click on the Configure Mail button to open the email configuration dialog.
PPPoE Dialer Utility
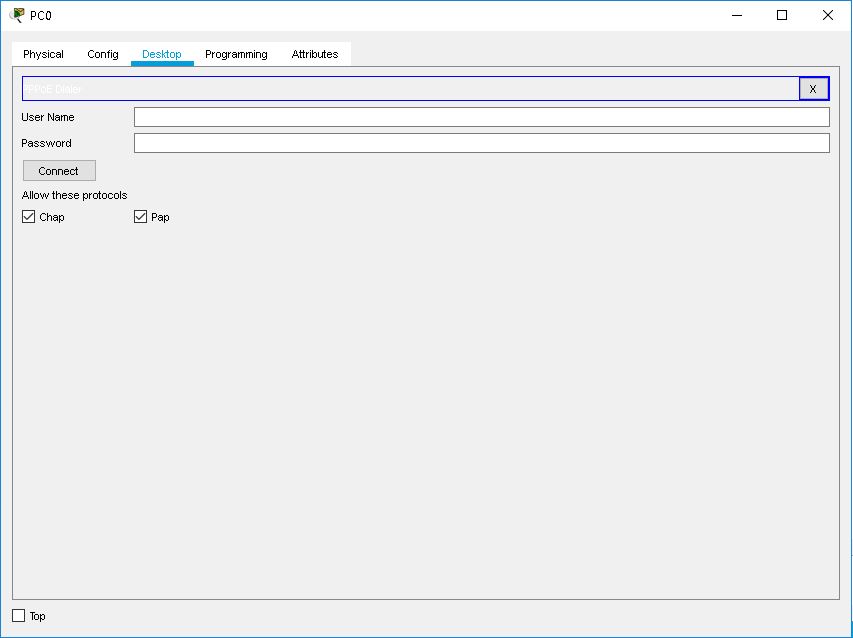
On the Desktop tab, click the PPPoE Dialer button to bring up the PPPoE Dialer utility. This utility allows you to establish a point-to-point connection to a PPPoE server. To establish a PPPoE connection, enter the User Name and Password and then click on the Connect button. To disconnect the PPPoE connection, click on the Disconnect button.
Text Editor Utility
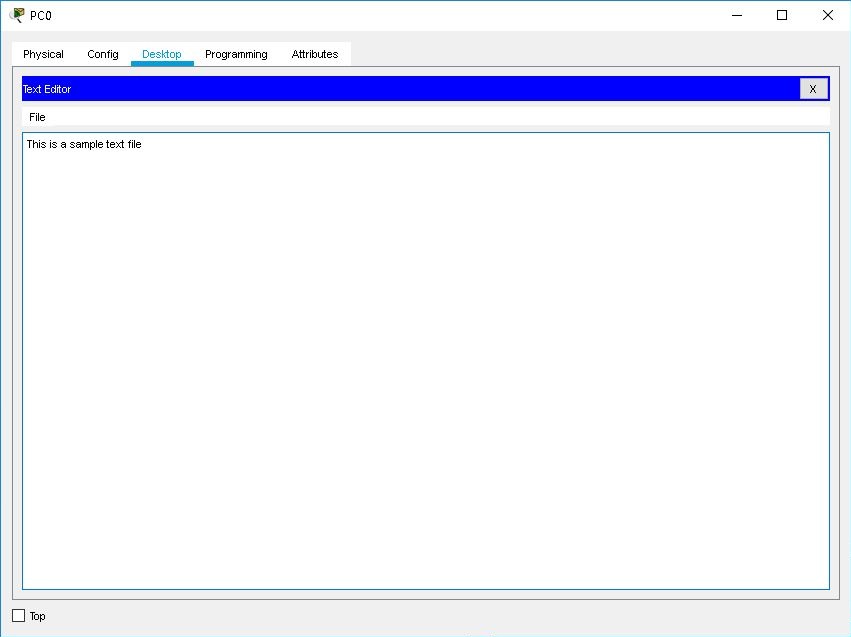
On the Desktop tab, click the Text Editor icon to bring up the text editor. You can create New text files, Open existing text files, and Save text files through the File menu in the text editor. There are no formatting choices available in the text editor.
