WRT300N: GUI
The GUI tab offers the same configurations and settings as the Config tab with some additional features for access restrictions, port forwarding, DMZ access, administration, as well as router and network status. Make sure you click on the Save Settings button at the bottom to apply the new settings to the WRT300N before going to any other tab.
Setup Configuration
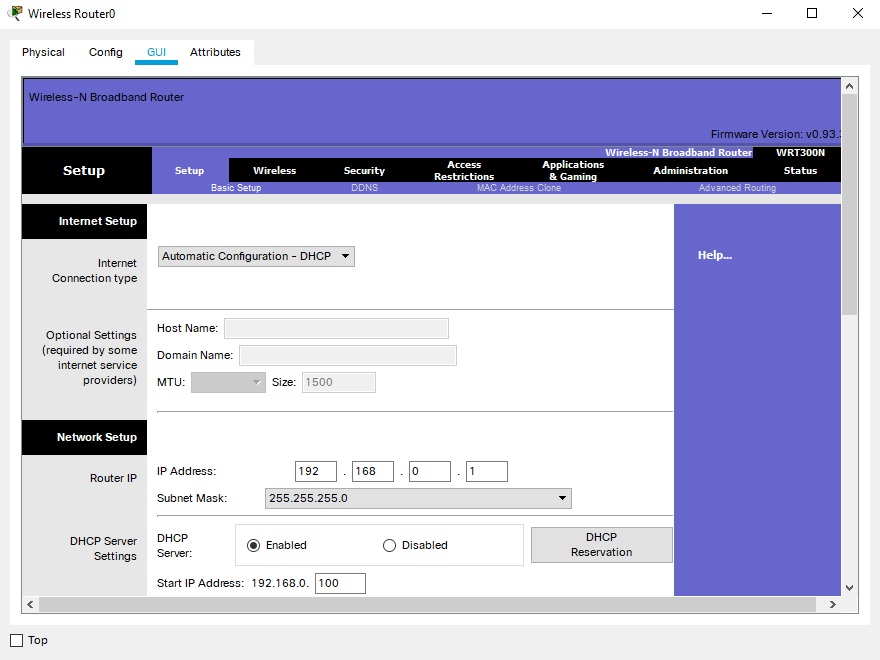
In the Setup tab under the Basic Setup sub-tab, you can set the Internet Connection Type to either automatically obtain IP configurations with Automatic Configuration - DHCP, manually set IP configurations with Static IP , or PPPoE. You can also set the LAN IP configurations and DHCP server settings under the Network Setup section.

Wireless Configuration
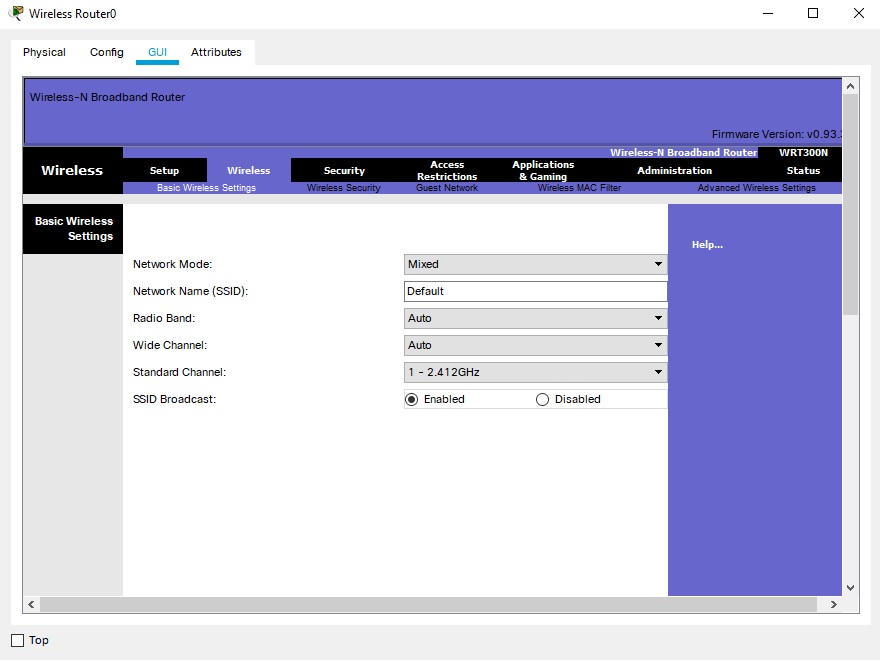
On the Wireless tab under the Basic Wireless Settings sub-tab, the only settings you can change are the Network Name (SSID) and the Standard Channel.
Under the Wireless Security sub-tab, you can set the Security Mode to Disabled, WEP, WPA Personal, WPA Enterprise, WPA2 Personal, or WPA2 Enterprise. Depending on the security mode that you select, you will need to enter a WEP key, passphrase and encryption type for WPA/WPA2 Personal, or the RADIUS server IP address, shared secret, and encryption type for WPA/WPA2 Enterprise.
Under the Wireless MAC Filter sub-tab, you can setup a wireless MAC address filter list to permit or prevent wireless clients from accessing the wireless network. To setup the wireless MAC filter, set the wireless MAC filter to Enabled and then select whether you want the MAC filter to prevent the listed clients from accessing the wireless network or to permit only the listed clients from being able to access the wireless network. Afterwards, begin entering the MAC addresses of the clients that you want to include in the MAC filter and then click the Save Settings button.
Security Configuration
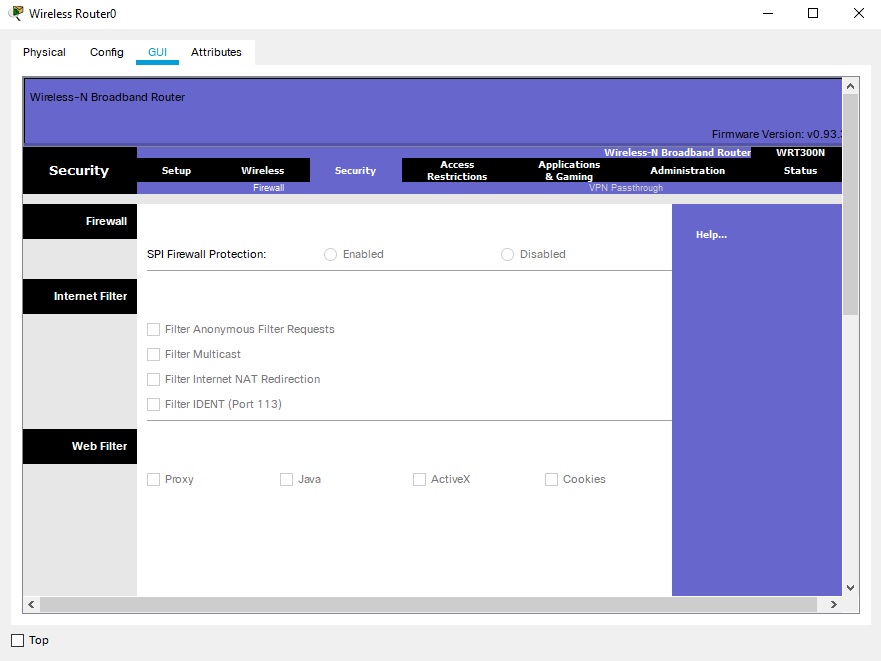
On the Security tab, there are no additional viewable sub-tabs and there are no parameters that you can edit.
Access Restrictions Configuration
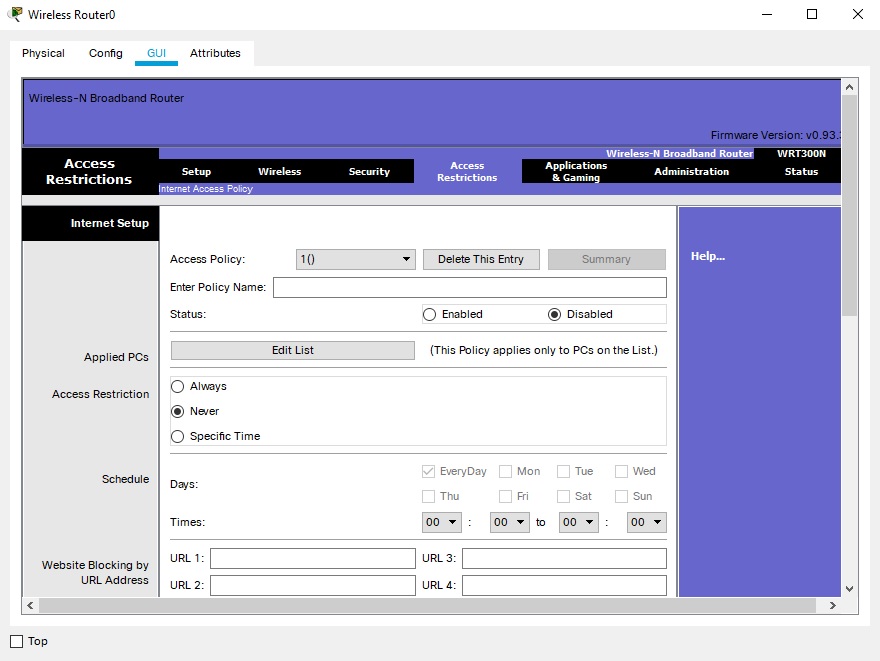
On the Access Restrictions tab under the Internet Access Policy sub-tab, you can apply various access restrictions policies on the connected hosts. To add a policy to the router, first select a policy you would like to edit from the Access Policy drop-down menu and then Enter a Policy Name for the policy. Then, set the Status to Enabled. Next, click on the Edit List button and enter the host IP addresses you would like to apply the policy on in the List of PCs dialog that shows up. After editing the list, click on Save Settings and Close inside the dialog. Back in the GUI, select Deny to restrict all applications or select Allow for specific application access restriction. If you select Allow, you can choose up to three applications to block. To block an application, select the application from the Applications list and click on the >> button to add it to the Blocked List. To unblock an application, select the application from the Blocked List and click on the << button. If you want to remove a policy, select the policy from the Access Policy drop-down menu and click Delete This Entry.
Applications & Gaming Configuration
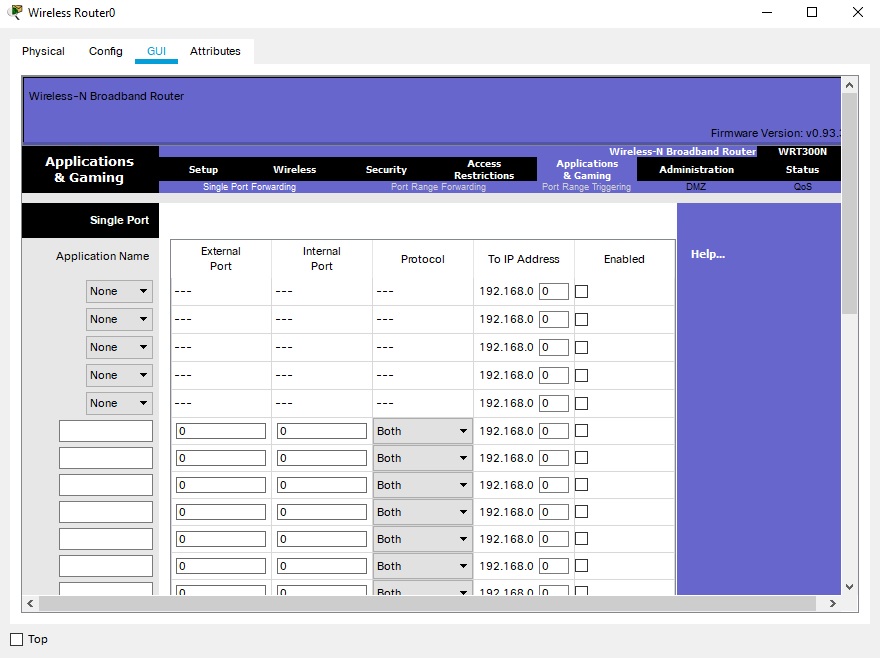
In the Applications & Gaming tab under the Single Port Forwarding sub-tab, you can forward packets destined to specific ports to an IP Address. To forward a port, select the appropriate application under the Application Name drop-down menu, enter the IP Address under the To IP Address column to which you want the packets to be forwarded, and then click on the box under the Enabled column. To forward a custom port, enter an application name and then enter the appropriate Externet Port, Internet Port, and Protocol. The Externet Port is the port to which the router will listen from the WAN side. The Internet Port is the port on your local server to which the router will forward packets.
Under the DMZ sub-tab, you can set a specific host to have DMZ access. To do so, click on Enabled to enable the DMZ feature and then enter the IP address of the host you want to have DMZ access.
Administration Management
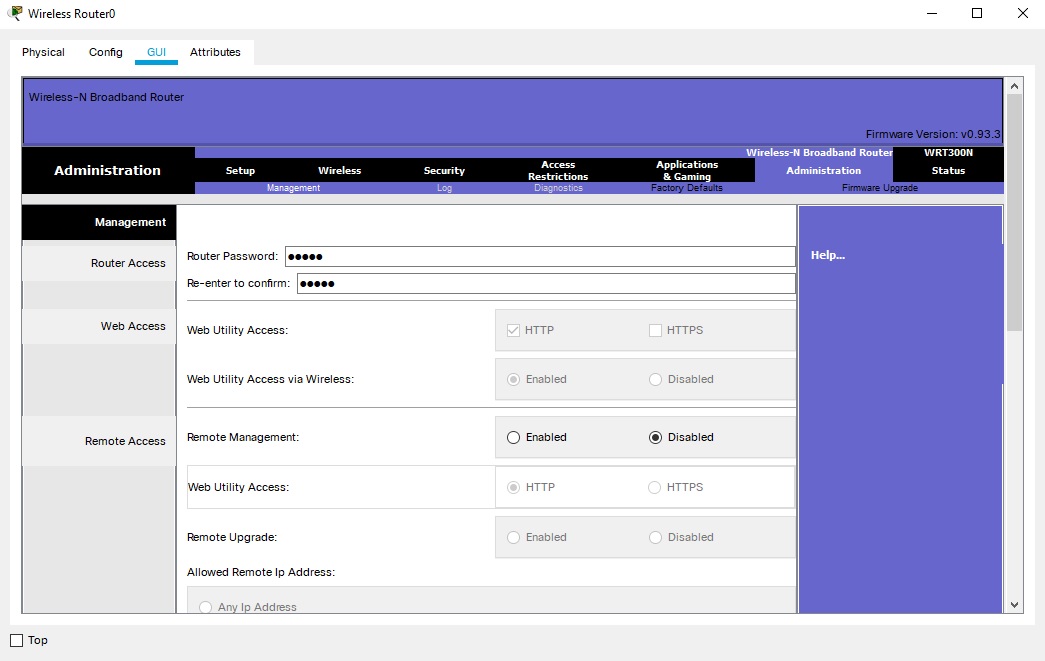
In the Administration tab under the Management sub-tab, you can change the default password to access the router through the Web Configuration using the Web Browser and toggle Remote Management. In addition to this, if you are logged in using the Web Configuration, you can Backup and Restore Configurations.
Under the Factory Defaults sub-tab, the only available feature is Restore Factory Defaults. This will reset the configuration back to default settings.
Under the Firmware Upgrade sub-tab, you can upgrade the firmware of the WRT300N. To upgrade the firmware, click on Browse, select a valid firmware image from the dialog that shows up, and then click OK. Once you have selected a firmware, click on the Start to Upgrade button to upgrade the firmware.
Status
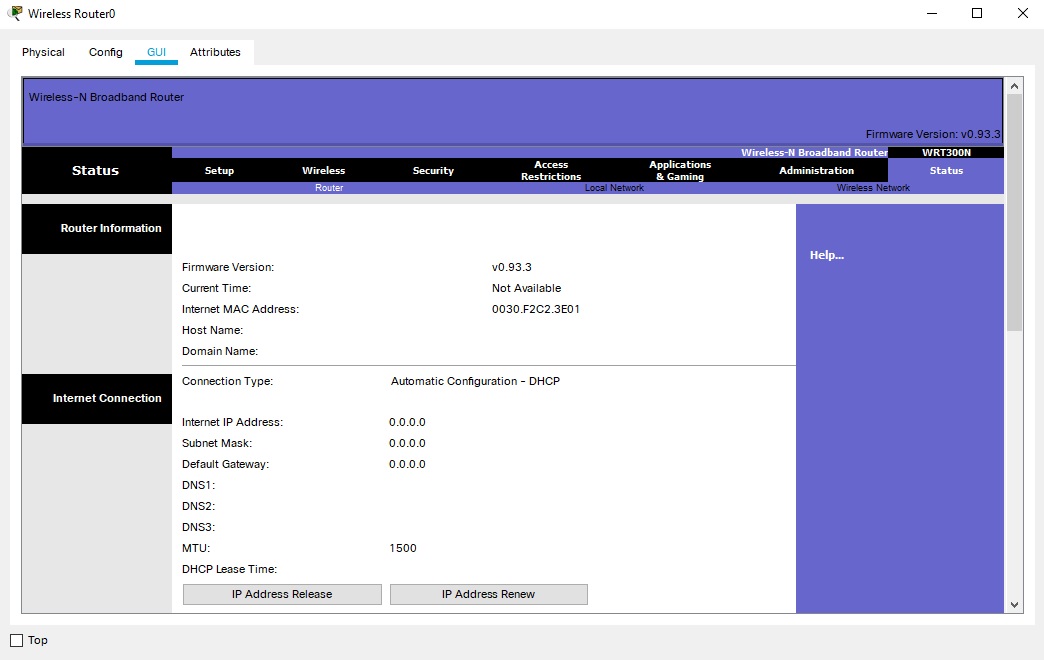
On the Status tab under the Router sub-tab, you can view Router Information and Internet Connection configurations. You can Release and Renew the IP address of the Internet port.
Under the Local Network sub-tab, you can view the Local Network and DHCP Server configuration. You can view the DHCP Client Table as well.
Under the Wireless Network sub-tab, you can view the various wireless configurations on the router.
